It’s officially ‘cozying up by the fire’ season over here, and while I’m still waiting a few weeks to decorate our holiday mantle, I’m finding inspiration in beautiful, inviting family rooms at the moment.

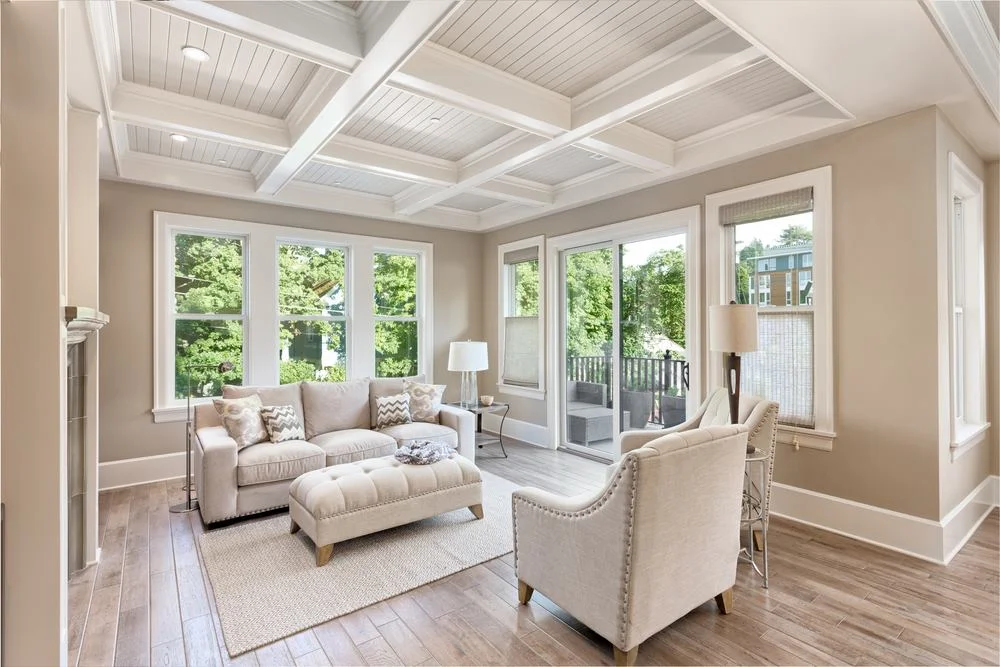
Photo: Lowell Custom Homes
Family Room Refresh
The holidays are crazy, but updating your Family Room doesn’t have to be. Build on your sofa and coffee-table basics with pillows, throws and accessories that go with your favorite flow.
Put it in neutral! When you buys big ticket items - sofa, coffee table, rug - in gray, beige or cream, its easy to change all the other decorative elements when you want to bring in bright pops of color or different textures.

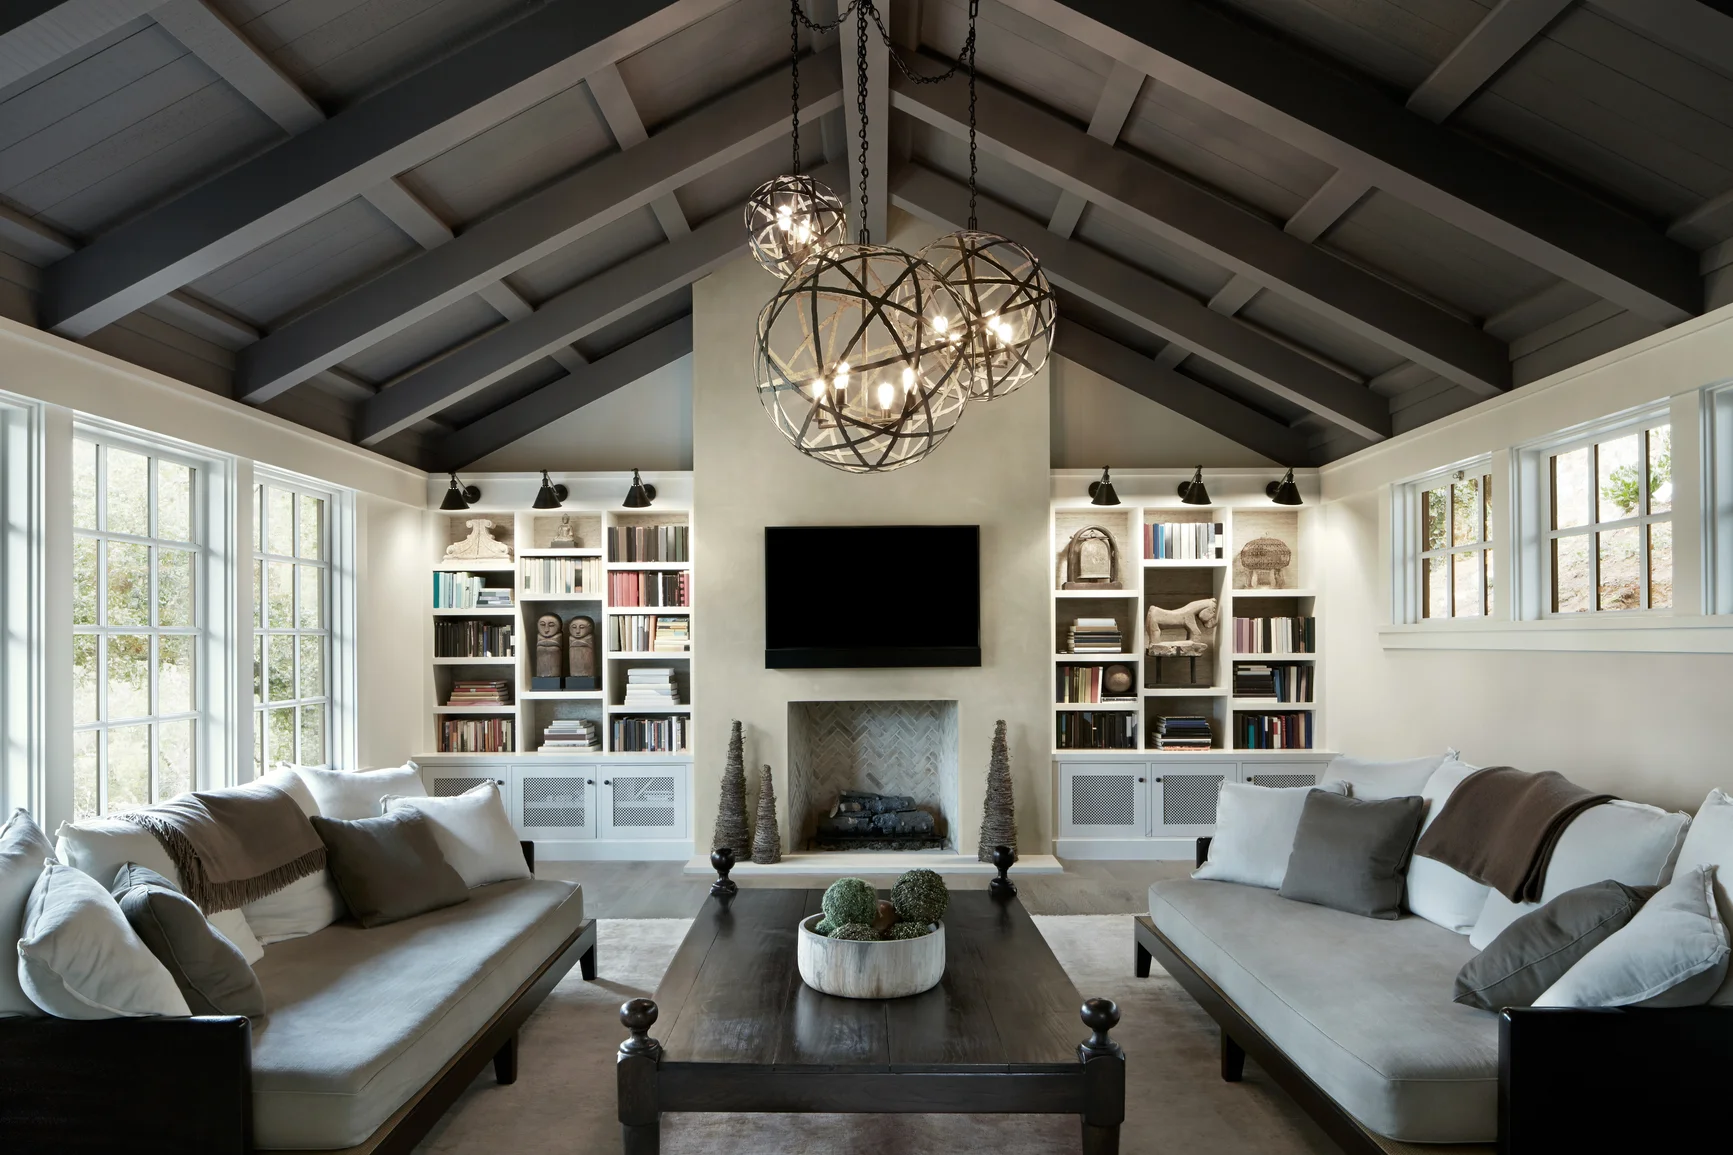
True Luxury
A truly comfortable family room means never having to get up for the things you need. Test your home’s luxury: pour yourself a glass of wine and sit down in every seat. Is there a convenient spot where you can set the drink down? If not, you need an end table. Can you reach a reading light? If not, you probably need some sconces or lamps. Sit in your own favorite reading chair. What happens when you phone rings? If it involves getting up, have an electrician install an outlet for you to keep your phone or tablet fully charged and ready to go.
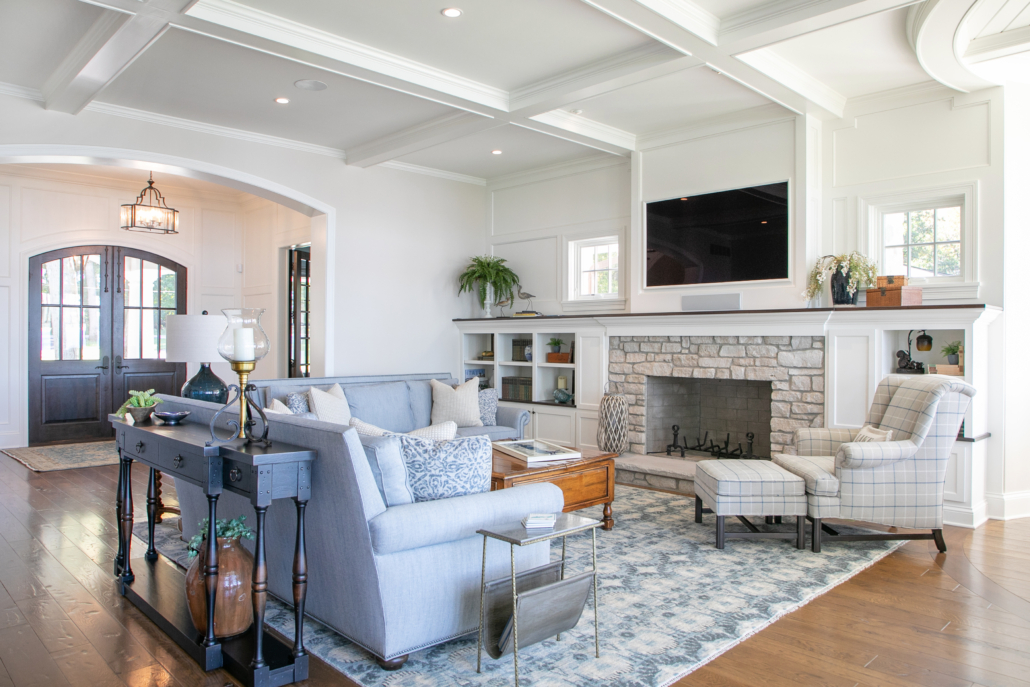
reclaim the fireplace
Most people who are fortunate enough to have fireplace tend to build their main seating arrangement around it- sofa, coffee table, chairs. But if you don’t entertain all that often, consider a more intimate alternative: pull two armchairs or wing chairs up to the hearth instead. Place a round table between them, a great spot for a drink. The fireplace now becomes an anchor for a deeply personal spot, ideal for two (remember to light the fire).
If you buy a new sofa or loveseat, don’t keep their accompanying throw pillows. They’re too small and too neatly matched to the upholstery. This combo can rob a room of individuality. Instead, have your own, more gracious pillows made. Pro Tip: when shopping for pillow fabric, bring the cover of an old sofa pillow with you to ensure that the patterns and colors are complementary.
If you find yourself unable to make a single decorating decision, it maybe time to hire a designer for some short-term help. A good designer knows how to draw up a budget, what to invest in, went to take short cuts, how to avoid mistakes, how to work expertly with color, form and proportion and how to incorporate your taste throughout. Don’t feel like you can do it alone? Email me and we’ll get to work on creating gorgeous spaces in YOUR home!